 LNEYA Refrigeradores industriais Fabricante Fornecedor


How to Storage Chillers in Winter
Winter is coming to the Northern Hemisphere. Some factories are switching to free cooling, while others worry their refrigeradores might freeze in the cold. For one reason or another, many users decide to shut down their chillers during the winter season.
If someone simply powers off the unit and walks away, they’ll regret it the next time they start it up. Any water left inside the chiller can freeze when temperatures drop below 0°C, expand, and damage the heat exchanger or pump seals, leading to leaks.
Preparing your chiller properly before storage helps it survive the winter safely and saves you from a lot of trouble later.

1 Unplug the Chiller
Start by disconnecting power completely. Pull the plug or open the disconnect switch. This step might sound basic, but it prevents accidental startup.
Para chillers refrigerados a ar, cover the fan inlet loosely with a breathable material such as canvas. Avoid plastic sheets. They trap humidity and can lead to corrosion on fan blades or bearings.
2 Detach and Dry the Hoses
Next step, disconnect every hose. Cap the fittings right away so bugs or dust don’t find a new home there. Coil the hoses loosely and hang them up where they can dry naturally.
If they’re flexible PVC or rubber, wipe them down with a bit of isopropyl alcohol. It cleans residue and keeps the surface from stiffening over winter. Stainless braided hoses need a quick look at the ends—any brown tint means light corrosion. A small dab of silicone grease on threads now will make life easier next spring.
3 Remove and Dispose of Filters
Chillers often have water filters or strainers in the circulation loop. These should never sit wet during storage. Open the filter housing, remove the cartridge, and throw it away if it’s not reusable.
Clean the housing and leave a small tag that says “filter removed.” It prevents a dry startup later when someone powers on the system without replacing the filter.
4 Drain All Water
This is the most important step in winterizing a chiller. Every drop of water left inside the cooling circuit can freeze. Freezing can break an evaporator, crack a pump head, or burst copper tubes.
Locate All Drain Points
Most chillers have at least two main drain ports. One is for the process loop and one is for the internal reservoir. Open both and let gravity do its work. Tilt the unit slightly if possible to help it empty completely.
Use Compressed Air for the Final Push
Once the visible water is gone, connect a low pressure air line and blow through the system gently. To ensure the safety of the internal seals, the pressure must be kept below 0.3 MPa. Any remaining moisture will eventually escape under this pressure.
Hidden Pockets
Check valves, small bends, and jacketed components often trap water. A hand vacuum pump can help pull liquid out of these sections. It’s a small effort that prevents big problems later.
5 Clean the Exterior
Wipe the surface of the chiller with a damp cloth to remove dust, oil, and other contaminants. For enhanced cleaning, you can spray a small amount of mild soapy water onto the cloth or directly onto the equipment surface. If there are stains on the air vents or the condenser fins, clean them promptly to prevent them from becoming difficult to remove over time.
If the condenser fins are dirty, use a soft brush or compressed air to clean them. Do not use high pressure water. Bent fins reduce air flow and can cause overheating when the chiller restarts.
Inspect paint and panels for scratches. Touch up exposed metal with rust preventive paint. Surface rust is easier to stop now than later.
Check the control panel buttons and display. Wipe them gently and cover the screen with a soft cloth. This keeps the panel free of static dust and fingerprints.
6 Complete Drying
After cleaning and draining, to prevent moisture from lingering, place the equipment in a dry and well-ventilated area. During this time, the maintenance panels should be left open to allow air to circulate naturally from the inside out.
If your area has high humidity, you can speed up the drying process by using a portable dehumidifier or small fan near the equipment. If such devices are unavailable, desiccant packets can be used with the same effect. In any case, before closing all the equipment panels, make sure every corner inside is completely dry.
Never use a heat gun or hair dryer directly on components. Some plastics and insulation can deform or crack under high heat. Gentle airflow works best.
7 Proper Storage Conditions
The last step is choosing the right place for storage. A good environment can make or break the success of your chiller winterization.
Temperature and Humidity
Chillers are best stored in an environment with a temperature around 15 °C and humidity below 70%. Excessive temperature and humidity can promote mold growth and corrode the equipment, while temperatures that are too low may cause freezing damage.
Floor and Position
Place the chiller on a flat dry surface. Avoid direct contact with bare concrete floors. Concrete floors hold cold and moisture. A little elevation keeps airflow and stops rust underneath.
Cover and Protection
Some customers like to wrap the chiller unit with plastic wrap, but we recommend using a breathable dust cover instead. It not only keeps insects out but also allows moisture to escape, preventing corrosion caused by trapped humidity. If the storage area may have mice, make sure to block any cable openings with fine mesh.
Periodic Check
The work isn’t finished once the above steps are completed. During the few months the chiller is idle, you should inspect it once a month. Check for moisture that could cause rust or for any small insects that may have entered. Additionally, to prevent the fan blades and pump shaft from seizing during idle rotation, manually turn them during each inspection.
Conclusão
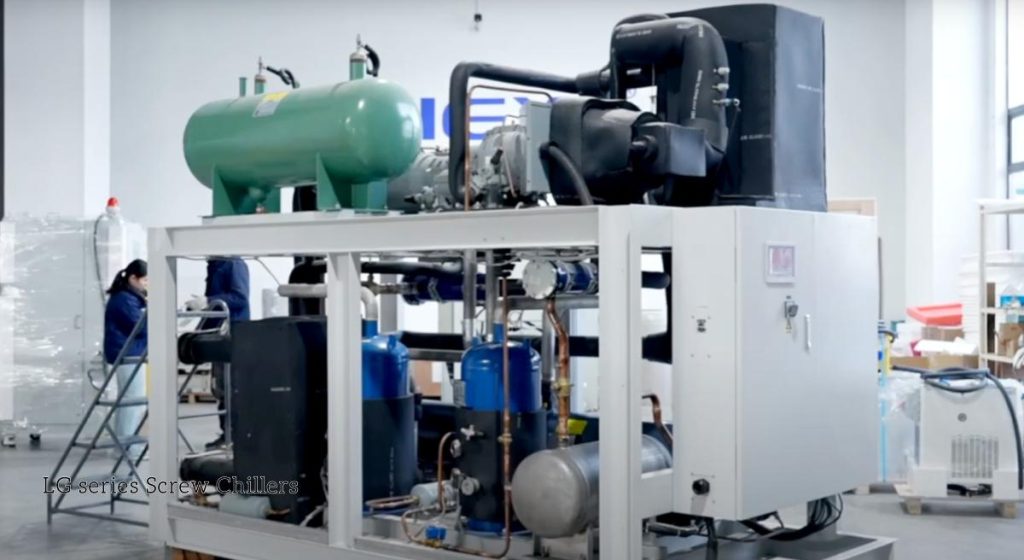
Do you need an refrigerador industrial that can run stably in winter? LNEYA’s Chillers externos use a variety of anti-freeze protections, allowing you to get a good cooling experience even in the cold winter.

Blogues recentes
- What Does a 200 Ton Chiller Cost
- Temperature Control in Photolithography
- Is a Used Chiller a Good Idea
- Chiller Components and Refrigeration Fundamentals Guides
- Chiller Types and Selection Guides
- How Does a Peltier Cooler Work
- Peltier Chiller vs. Compressor Chiller
- What Is a Peltier Chiller
Catálogo
- Dezembro 2025
- Novembro 2025
- Outubro 2025
- Setembro 2025
- Agosto 2025
- Julho 2025
- Junho 2025
- Maio 2025
- Março 2025
- Fevereiro 2025
- Janeiro 2025
- Dezembro 2024
- Novembro 2024
- Outubro 2024
- Setembro 2024
- Agosto 2024
- Julho 2024
- Junho 2024
- Maio 2024
- Abril 2024
- Março 2024
- Fevereiro 2024
- Setembro 2023
- Julho 2023
- Junho 2023
- Maio 2023
- Janeiro 2023
Etiqueta
refrigerador arrefecido a ar refrigerador Instalação de chillers Chiller Maintenance chiller refrigerant refrigeradores Congelador de montagem a frio refrigerador de refrigeração sistema de arrefecimento e aquecimento sistema de arrefecimento sistema de controlo dinâmico da temperatura chiller energeticamente eficiente refrigerador à prova de explosão congelador circulador de aquecimento refrigerador industrial refrigeradores industriais arrefecimento industrial congelador industrial frigorífico industrial reator de camisa refrigerador de laboratório refrigerador de baixa temperatura notícias refrigerador de óleo refrigerador de processo resfriamento de processo refrigerador do reator arrefecimento do reator arrefecimento do reator aquecimento aquecimento do reator arrefecimento bomba de circulação refrigerada refrigerador de parafuso refrigerador de semicondutores refrigerador de teste de semicondutores sundi tcu controlo da temperatura câmara de ensaio termóstato refrigerador de temperatura ultra baixa refrigerador de ensaio de veículos refrigerador de água refrigerador arrefecido a água
Contactar-nos
Chillers relacionados


FALE CONOSCO
TEL:
EMAIL:
WeChat & WhatsApp:

Wechat QR

Tem alguma pergunta ou precisa de um orçamento? Preencha o formulário abaixo e nossa equipe entrará em contato dentro de 24 horas.

